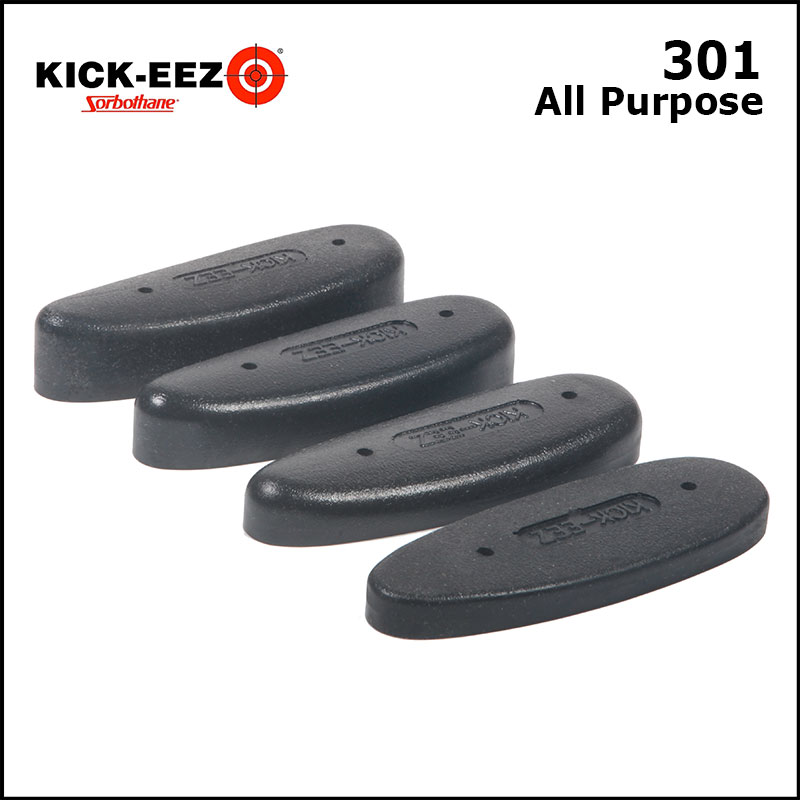
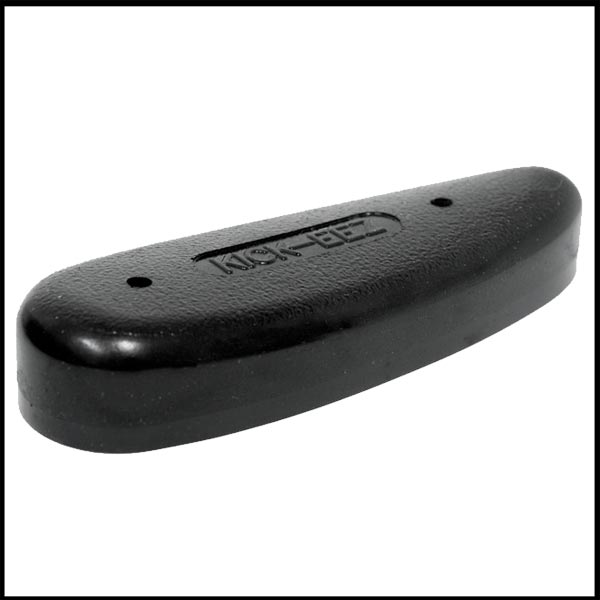
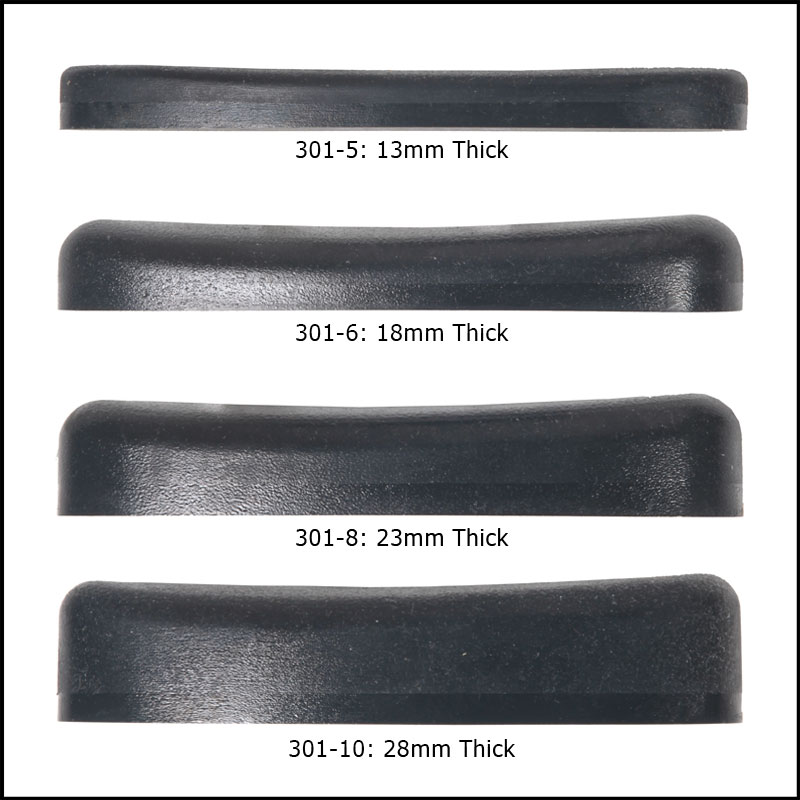
This pad was designed as an "All Purpose" pad to be used in all shooting applications. The new 13mm thickness can also be used on the adjustable and hydraulic plates.
The Kick-Eez Pads are produced as Oversized and will need grinding to fit to your stock. Please contact us before ordering if you have any issue regarding the fitting. We do provide a fitting service, which would involve sending us your stock or booking an appointment to have the work done.
Our number is 01978 66 00 01.
Colour: Black
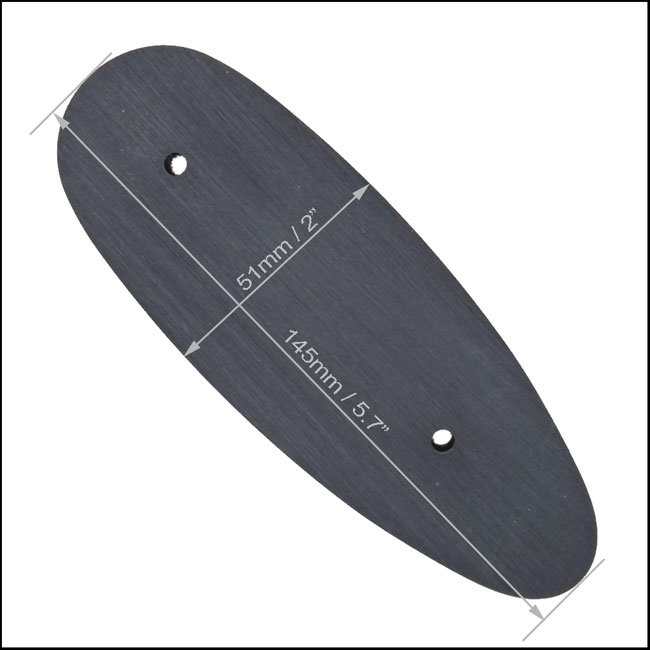
Measurements (All 301 Series Pad):
Width - 51mm / 2"
Length - 145mm / 5.7"
Hole Spacing - 80mm / 3 1/8"
Choice of Pad: (Select from the Options at the bottom of the page)
301-5 - 13mm (0.51") Thick / Weight: 91 g
301-6 - 18mm (0.71") Thick / Weight: 125 g
301-8 - 23mm (0.91") Thick / Weight: 172 g
301-10 - 28mm (1.02") Thick / Weight: 216 g
(Note: Some sizes may be temporarily out of stock and not available)
Other Kick-Eez Pads Available:
-
Kick-Eez 401 - Trap
-
Kick-Eez 403 - Modified Trap
-
Kick-Eez DA 301 - Dual Action All Purpose
Installation Instructions:
Step 1
Position the pad on the butt of your stock and determine whether or not you can use the existing screw holes. If the holes match, proceed to step 2. If the holes do not match on your wood stock, then do the following: position the pad on the butt of the stock and mark the new screw holes on the gun stock butt. If the new holes are going to interfere with the old holes, then you must plug the old holes of the gun stock butt. The best way to do this is to drill out the old holes with a 1/4" drill to a depth of one inch and then cut a 1/4" dowel rod 7/8" in length and drive it into the hole. Reposition the pad on the stock, mark the location of your new screw holes, drill a 1/8" hole to a depth of one inch and screw the pad to the stock.
Step 2
While the pad is still on the stock, scribe a line on the pad plate. Remove pad from stock and position pad on a grinding jig and sand to the line you have scribed on the plate. If you do not have a jig you can "free hand" sand the pad.
Step 3
After grinding to the proper fit, radius (round) the heel, toe and sides of the pad to remove any square corners. This will make the gun easier to mount to the shoulder, give it a more attractive appearance, and prolong its life.
Step 4
Screw pad on stock. For best results: Pads with 1/8 inch holes apply a lubricant like Vaseline to the face of the pad around the mounting holes. This will help prevent marring the pad during installation of the screws. Wipe the pad clean after installation.
Step 5
Placing recoil pads on synthetic stocks may require professional installation by your gunsmith

